
How to Install a Ceiling Fan Without Existing Wiring in AL
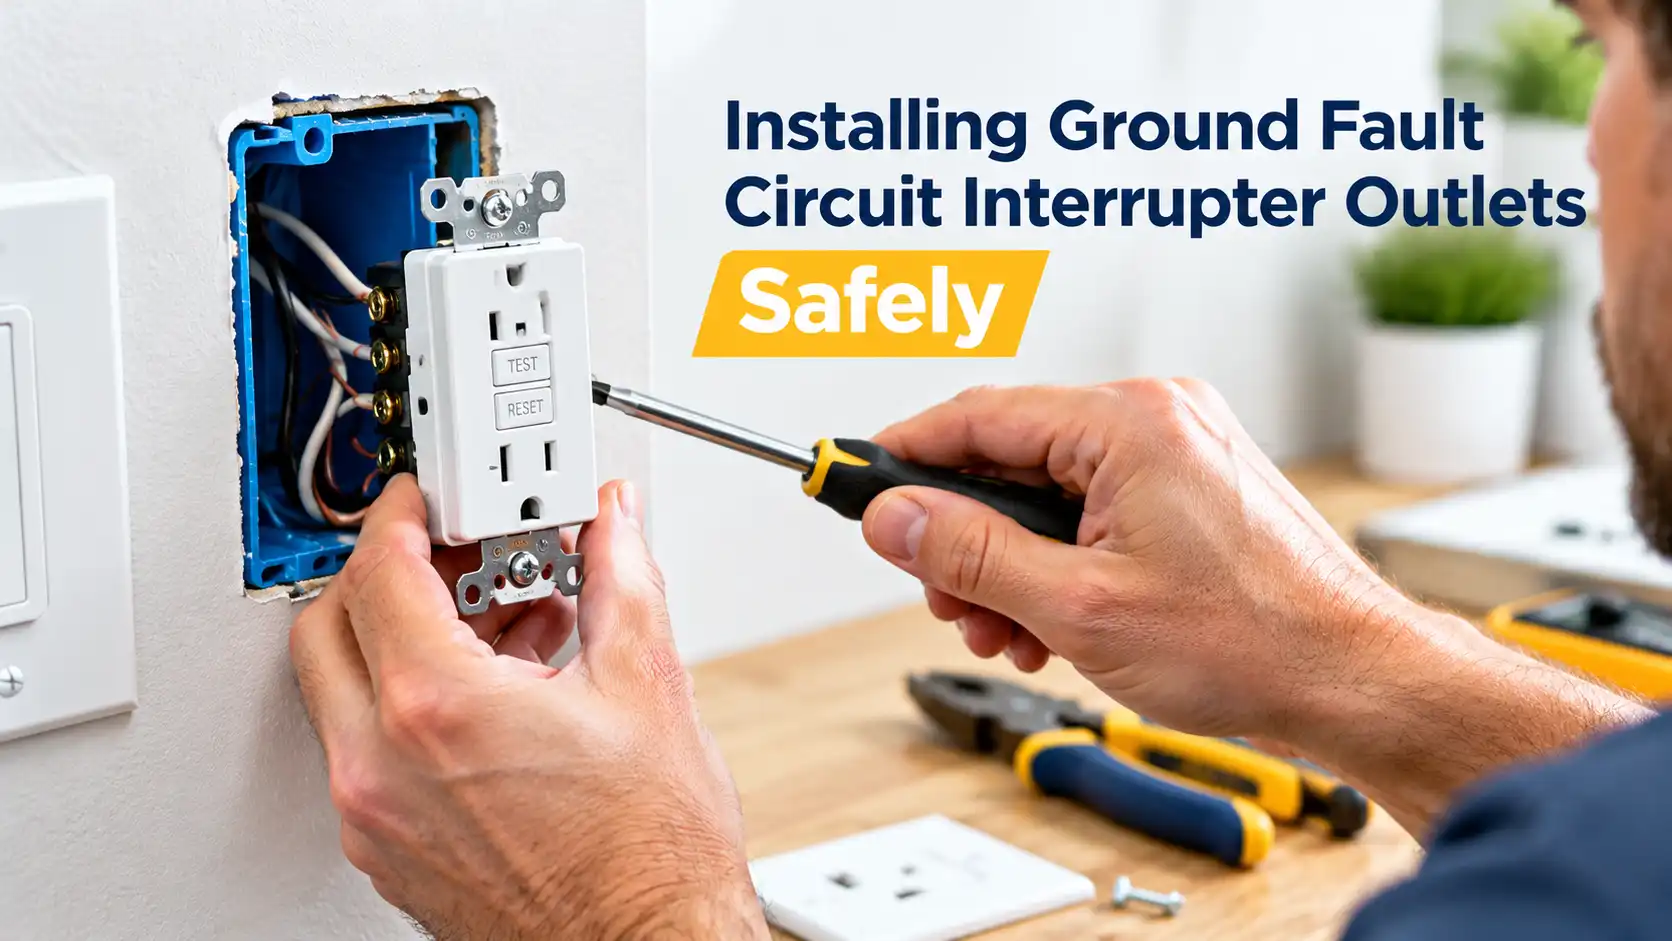
A ceiling with no box and no wires is a power problem, not a decor problem. If you want to know how to install a ceiling fan without existing wiring, the fan is the easy part. The hard part is getting a safe power source, a fan-rated ceiling box, and proper grounding to a spot that never had any. In an Alabama August, a bedroom without a fan feels like a sauna. A poorly installed fan creates a different risk: a spinning load hanging from a box never built to hold it.
Key Takeaways
- Support comes first. A fan must hang from a box listed for fan support under NEC 314.27(C). A standard light box is not enough, even for a light fan.
- No attic does not mean no fan. An expandable brace bar slides through a 4-inch hole, and wire can be fished from the nearest switch or run in surface raceway.
- New circuit work usually needs a permit. Running new cable in Birmingham, Hoover, or Shelby County typically requires a licensed electrician and an inspection, and often AFCI protection.
Why “No Wiring” Is a Bigger Issue Than It Looks
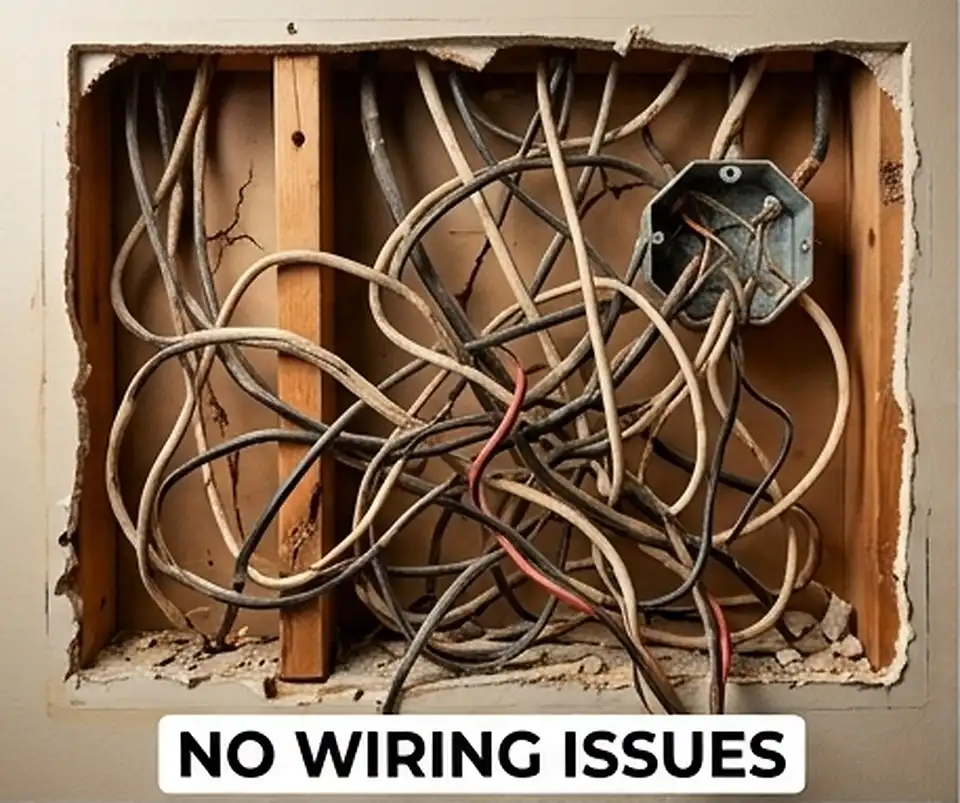
A ceiling with no fixture is missing four things, not one. You need power, a path for the cable, a support structure, and a control point. Each one carries its own code rule.
On recent service calls in Vestavia Hills and Hoover, we find the same pattern. A homeowner buys a 50-pound fan, then discovers the room has no ceiling outlet, no switch leg, and no blocking between joists. The fan sits in the box for weeks.
| What’s Missing | Why It Matters | Code or Safety Reference |
|---|---|---|
| Power source | The fan needs a 120V supply with spare capacity | NEC Article 210 (branch circuits) |
| Cable path | Wire must be protected and secured inside walls or raceway | NEC Article 334 (NM cable), Article 386 (surface raceway) |
| Fan-rated box | The box carries the fan’s weight and wobble | NEC 314.27(C), NEC 422.18 |
| Equipment ground | Bonds the metal fan frame to clear faults | NEC Article 250 |
| Wall control | Lets you run fan and light separately | NEC 404 (switches) |
| Arc-fault protection | Required on most extended bedroom and living room circuits | NEC 210.12 |
Our government-certified Birmingham electricians frequently see this in older local homes. Homewood cottages and Mountain Brook houses from the 1940s and 1950s often have plaster-and-lath ceilings, two-wire circuits with no ground, and attics packed with old insulation. Each of those details changes the installation method.
Electrical faults are a leading cause of house fires. The NFPA’s research on home electrical fires shows that electrical failure or malfunction contributes to the large majority of them. Loose splices, overloaded circuits, and unprotected cable are the usual suspects. Each one shows up in rushed fan installs.
Start by checking the room for the nearest switch, outlet, and attic access before you buy a fan.
Three Wiring Methods That Work
Three proven methods bring power to a new fan location. Which one fits depends on attic access, ceiling material, and how close the nearest live circuit sits. Understanding how to install a ceiling fan without existing wiring starts with picking the right path.
Method 1: Run a New Circuit From the Panel
A new circuit gives the fan its own breaker. This is the cleanest option when your existing lighting circuits are already crowded. Our crews run 14/2 or 14/3 NM cable on a 15-amp breaker from the panel to a new switch, then up to the ceiling box.
- Best for: additions, bonus rooms, and Hoover subdivision homes with full attic access
- Requires: open breaker slot, permit, AFCI breaker in most living spaces
- Typical time: 4 to 8 hours
Method 2: Fish Wire Through the Attic
Attic fishing means feeding cable from an existing switch or junction box up through the top plate of the wall, across the attic, and down into the new ceiling box. A long flex drill bit and a fish tape do most of the work.
- Best for: single-story ranch homes in Trussville, Pelham, and Alabaster
- Requires: attic clearance, a nearby circuit with spare capacity
- Typical time: 3 to 6 hours
If you’ve spent a summer in an Alabama attic, you know the heat limits safe work time to early morning. Attic temperatures here can pass 130°F in July. We schedule attic runs before 10 a.m. for that reason.
Method 3: No-Attic Options (Fishing, Raceway, or Conduit)
No attic access is common in two-story homes, finished bonus rooms, and vaulted ceilings. You still have three paths:
- Fish between joists. Cut a small access hole at the wall-ceiling joint, drill the top plate, and pull cable along the joist bay to the fan location.
- Install surface raceway. A listed surface raceway (such as Wiremold) runs along the wall and ceiling. It is visible but paintable.
- Open and patch the drywall. Cut a channel, run the cable, then patch. This is the most reliable route across joists.
The lowest-effort alternative is a plug-in ceiling fan with a cord and swag kit. It skips new wiring but still needs a fan-rated support in the ceiling.
| Method | Attic Needed? | Drywall Repair | Visibility | Permit Likely | Difficulty |
|---|---|---|---|---|---|
| New circuit from panel | Helpful | Low to moderate | Hidden | Yes | High |
| Attic fishing | Yes | Minimal | Hidden | Yes | Moderate |
| Fish between joists (no attic) | No | Small holes | Hidden | Yes | High |
| Surface raceway | No | None | Visible | Often | Moderate |
| Open and patch drywall | No | Significant | Hidden after patch | Yes | Moderate |
| Plug-in fan with swag kit | No | None | Visible cord | Rarely | Low |
Map the joist direction with a stud finder first, because it decides which method is realistic.
Wiring Approach: Pros and Cons
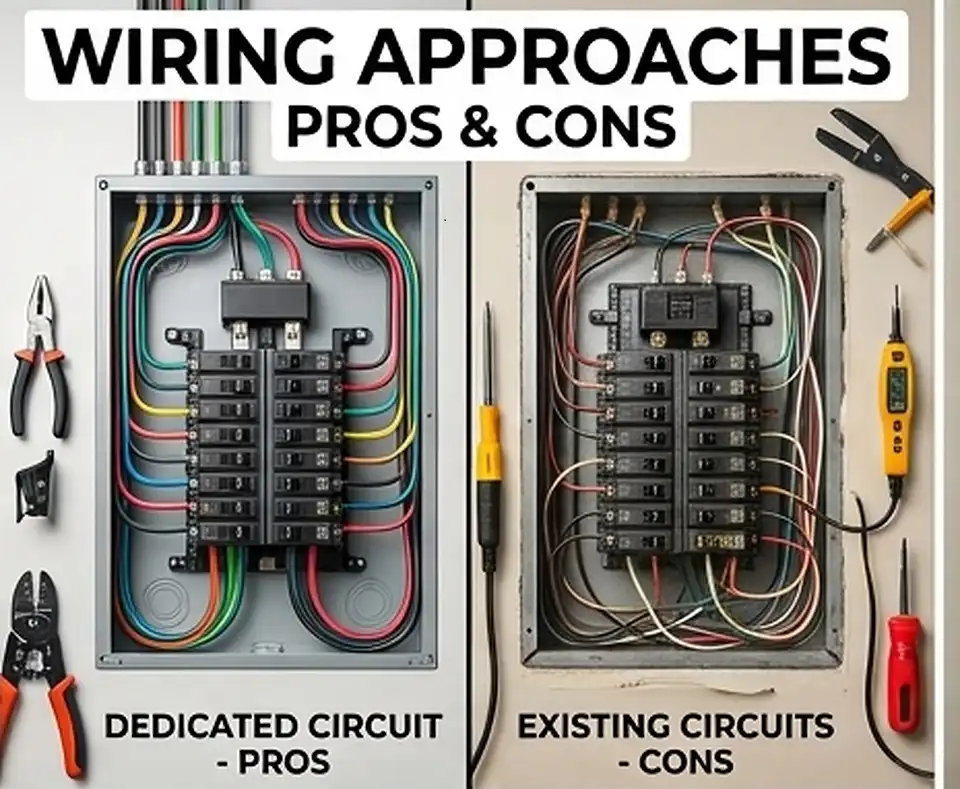
Every approach trades cost, appearance, and labor. This table summarizes what we tell homeowners on site visits.
| Approach | Pros | Cons |
|---|---|---|
| Dedicated 15A circuit | Full capacity, no overload risk, easy to troubleshoot | Higher cost, needs open panel space |
| Tap existing lighting circuit | Lower cost, shorter cable run | Must confirm spare capacity and AFCI needs |
| Tap a receptacle circuit | Often the closest power source | May add load to a busy circuit; check local rules |
| Surface raceway | No wall damage, fast install | Visible, less finished look |
| Plug-in fan | No new wiring, renter-friendly | Cord on the wall, still needs a solid mount |
A modern fan draws roughly 0.3 to 1 amp. That small load usually fits on an existing general lighting branch circuit. Older homes are the exception: Bessemer and Homewood houses often have one circuit feeding three rooms.
Before tapping any circuit, add up what already runs on that breaker using the watts listed on each device.
Fan-Rated Box and Support Requirements (NEC 314.27)
The box is the single most important safety part. Under NEC 314.27(C), a box used as the sole support for a ceiling fan must be listed and marked for fan support. NEC 422.18 covers fans up to 70 pounds on a listed box. Fans heavier than 35 pounds need a box marked with the weight it can carry.
A standard plastic light box is rated for fixtures, not motion. A fan pushes and pulls on its box every second it runs. Over time, that vibration loosens screws and cracks plastic.
| Box Type | Install Method | Attic Needed? | Typical Rating | Best Use |
|---|---|---|---|---|
| Fan-rated new-work box | Nailed or screwed to joist | Yes (or open ceiling) | Up to 70 lb | New construction, open ceilings |
| Expandable brace bar (old work) | Inserted through 4″ hole, twisted to lock between joists | No | Up to 70 lb | No-attic retrofits |
| Fan-rated pancake box | Screwed directly to joist face | No | Up to 70 lb (when listed) | Fan centered on a joist |
| Steel box with 2×4 blocking | Blocking nailed between joists | Yes | Depends on listing | Heavy fans, older homes |
| Standard light box | Clips or nails | Either | Not for fans | Light fixtures only |
Support Brace Kits for No-Attic Installs
An expandable brace bar solves most no-attic problems. You cut a 4-inch hole, slide the bar between joists, and turn it until its teeth bite into the wood. The fan-rated box then mounts to the bar.
- Locate the joists with a stud finder and confirm spacing (usually 16 or 24 inches).
- Cut the hole to the brace kit’s template.
- Insert the brace flat, then rotate it perpendicular to the joists.
- Tighten the bar until it locks firmly.
- Attach the box and test it by pulling down hard.
In older Mountain Brook homes, we check for plaster ceilings first. Plaster cracks easily, so we score the cut line and use a slow oscillating tool. Lath can also block the brace from seating.
Check the box label for the words “acceptable for fan support” before you mount anything to it.
Power Source: Dedicated Circuit, Grounding, and AFCI
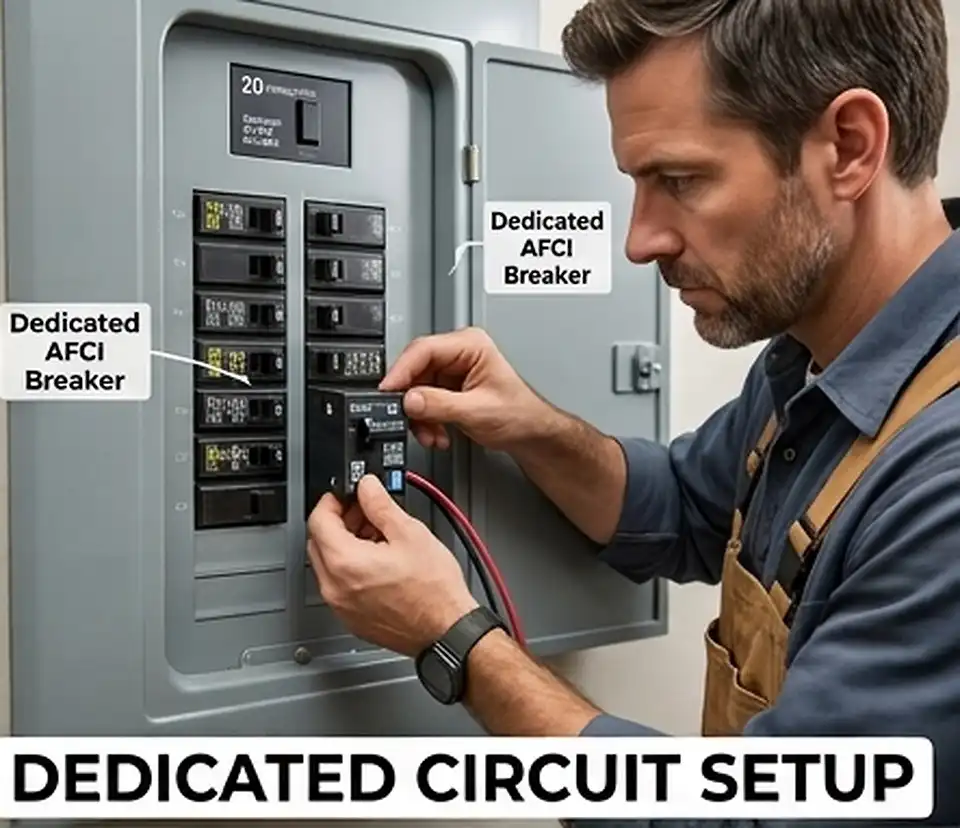
A fan needs a properly sized circuit, a continuous ground, and in most rooms, arc-fault protection. Getting these right matters more than the fan brand.
| Circuit Option | Breaker | Wire Gauge | Best For |
|---|---|---|---|
| New dedicated fan circuit | 15A | 14 AWG copper | Crowded panels, multiple fans |
| General lighting branch | 15A | 14 AWG copper | Typical bedroom fan |
| General branch | 20A | 12 AWG copper | Bonus rooms with heavier loads |
| Mixed gauge on 20A | Not allowed | 14 AWG on 20A breaker | Never acceptable |
Grounding
The bare copper conductor bonds the fan’s metal frame to the panel. If a hot wire touches the housing, the ground carries fault current and trips the breaker. Older Birmingham homes with two-wire cable have no ground at all. A new run fixes that for the fan, but the source circuit still needs a ground path.
AFCI Protection
NEC 210.12 requires arc-fault (AFCI) protection in bedrooms, living rooms, and similar spaces. When you extend or modify a circuit, the extension usually needs AFCI protection too. This is often an AFCI breaker at the panel or a combination device at the first outlet.
The HVAC Circuit Is Off Limits
Here is the HVAC-interlock point many DIY guides miss. Your attic air handler sits on a dedicated circuit. Never tap it for a fan because it sits nearby. That circuit is sized for the blower, and adding load can trip it mid-summer or interfere with service disconnects.
For the full scope of wiring and protection work, see our full list of electrical services.
Step-by-Step Installation Process
This is the field sequence we follow. It shows how to install a ceiling fan without existing wiring from planning to final test. Several steps involve new cable and panel work, which is licensed work in most Alabama cities.
- Plan the location. Center the fan in the room and keep blade tips at least 18 inches from walls. Blades should sit at least 7 feet above the floor (8 to 9 feet is ideal).
- Find the power source. Locate the nearest switch box or junction box on a circuit with spare capacity.
- Turn off the breaker. Confirm dead with a non-contact voltage tester, then verify with a multimeter.
- Install the fan-rated box. Use a brace bar, blocking, or a listed pancake box.
- Route the cable. Fish, raceway, or open the drywall based on your method.
- Secure the cable. Staple NM cable within 12 inches of boxes, and protect it where it crosses framing.
- Make the switch connections. Wire the new switch or smart control.
- Mount the fan bracket. Use the screws supplied with the box, not drywall screws.
- Connect the fan wires. Join like colors with listed wire connectors, then tug-test each one.
- Hang and balance the fan. Attach blades and use the balancing kit if it wobbles.
- Restore power and test. Run every speed, the light, and the reverse function.
- Schedule inspection. If a permit was pulled, the inspector must approve before drywall is patched.
Write the breaker number inside the fan canopy and on the panel directory before you close up.
Wiring Diagrams Overview
The fan’s wiring depends on how you want to control it. Most fans have a black (fan motor), blue (light kit), white (neutral), and green (ground) wire.
| Setup | Cable to Ceiling | Fan Connections | What You Get |
|---|---|---|---|
| Single switch | 14/2 with ground | Black + blue to hot, white to neutral, green to ground | Fan and light on together |
| Two switches | 14/3 with ground | Black to fan hot, red to light hot, white to neutral | Separate fan and light control |
| Remote receiver | 14/2 with ground | Receiver between supply and fan wires | Full control from handheld remote |
| Smart switch with neutral | 14/2 or 14/3 with ground | Neutral required at switch box | App and voice control |
| Plug-in fan | Cord to outlet | Factory wired | Basic control via pull chain or remote |
If you plan a light kit later, run 14/3 cable now. The extra conductor costs little during installation and saves a second wall opening. That one decision is the cheapest upgrade in the entire project.
Pick your control style before buying cable, since it decides 14/2 versus 14/3.
Control Options: Wall Switch vs. Remote vs. Smart
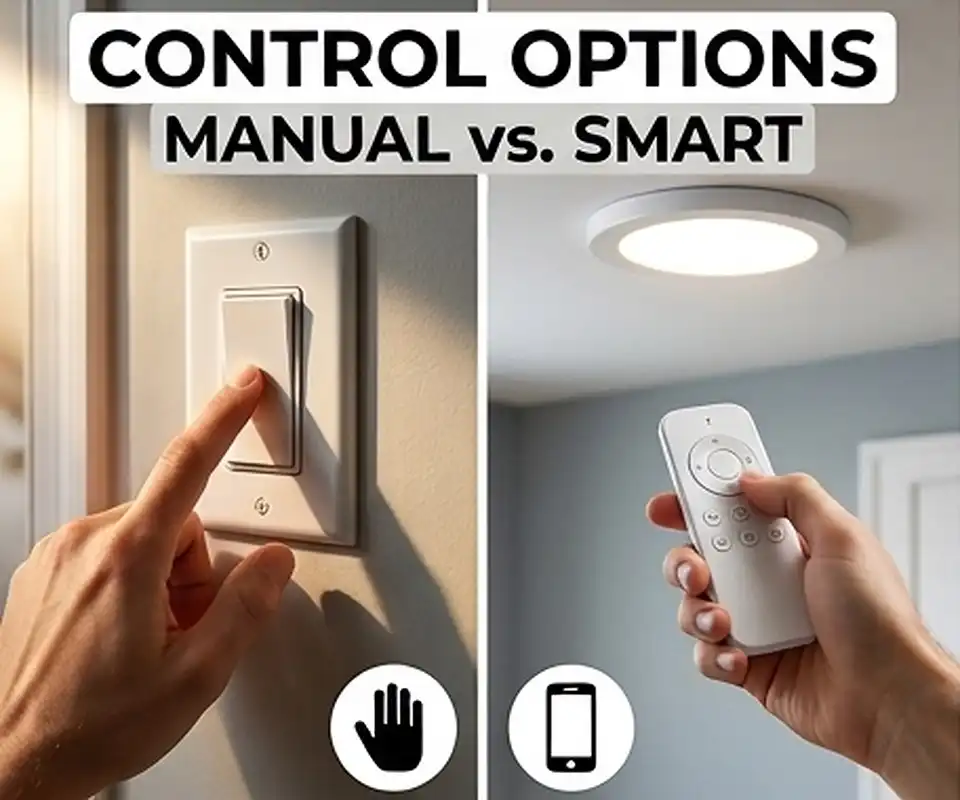
Your control choice changes the wiring. Wall switches are simple and reliable. Remotes avoid extra wall runs. Smart controls add scheduling but often need a neutral wire.
| Control | Wiring Needed | Cost (Device) | Pros | Cons |
|---|---|---|---|---|
| Single wall switch | 14/2 to switch | $5 to $25 | Simple, durable | No speed control from the wall |
| Dual switch | 14/3 to fan | $15 to $40 | Separate fan and light | More wiring |
| Fan speed control | 14/2 or 14/3 | $25 to $60 | Wall speed control | Must be fan-rated, not a dimmer |
| RF remote kit | 14/2 only | $30 to $80 | No new switch run | Remotes get lost |
| Smart fan control | Neutral at switch | $50 to $120 | App, voice, schedules | Neutral usually required |
Smart Control With No Neutral Wire
Many older switch boxes have no neutral. That’s because of switch loops: older wiring ran only a hot and a switched hot to the switch. NEC rules since 2011 require a neutral at most new switch locations, but homes built before then often lack one.
Your options:
- Run new 14/3 cable to bring a neutral to the switch.
- Install a canopy receiver with a battery-powered wall remote that mounts like a switch.
- Use a smart fan with a built-in receiver and app control.
Never use a light dimmer on a fan motor. Dimmers chop voltage and can make the motor hum, overheat, or fail early.
Pull your switch plate (with power off) and look for a bundle of white wires before buying any smart control.
Ceiling Fans and Your HVAC System
A ceiling fan cools people, not rooms. It creates a wind-chill effect that lets you raise the thermostat about 4°F without losing comfort, according to U.S. Department of Energy guidance. In a Birmingham summer, that change cuts AC runtime noticeably.
| Setting | Season | Blade Direction | Thermostat Strategy |
|---|---|---|---|
| Cooling mode | May to September | Counterclockwise | Raise setpoint 2 to 4°F |
| Mild days | Spring and fall | Counterclockwise, low speed | AC off, windows closed in pollen season |
| Heating mode | December to February | Clockwise, low speed | Pushes warm air down from ceiling |
| Unoccupied room | Year-round | Off | Fans don’t cool empty rooms |
| Motor Type | Typical Watts (High) | Speeds | Notes |
|---|---|---|---|
| AC motor | 50 to 90W | 3 | Lower upfront cost |
| DC motor | 15 to 35W | 5 to 6 | Quieter, more efficient, usually remote-controlled |
Keep the fan’s airflow off the thermostat. A fan blowing directly on a wall thermostat can trick it into reading cooler than the room. We move fan locations or thermostats when we see this.
Look for the airflow efficiency number (CFM per watt) on the fan box label when comparing models.
Cost and Time Comparison
Price depends on access, distance to power, and drywall repair. These are typical Birmingham-area ranges for 2026. Your quote will vary by home age and layout.
| Scenario | Estimated Cost (Labor + Materials) | Time | Drywall Repair |
|---|---|---|---|
| Replace light with fan (box upgrade) | $150 to $400 | 1 to 2 hours | None |
| New fan, attic access, tap nearby circuit | $350 to $800 | 3 to 5 hours | Minimal |
| New fan, no attic, fish wire | $500 to $1,200 | 4 to 8 hours | Small holes |
| New fan with dedicated 15A circuit | $600 to $1,400 | 5 to 8 hours | Varies |
| Surface raceway install | $350 to $750 | 2 to 4 hours | None |
| Drywall patch and paint | $150 to $450 | Extra visit | N/A |
| Permit fee (city or county) | Often $50 to $150 | Varies | N/A |
Knowing how to install a ceiling fan without existing wiring helps you read quotes, not just do the job. Compare line items: permit, box type, AFCI breaker, and patching. A low bid that skips the permit is not a fair comparison.
Ask every contractor to list the box model and breaker type on the written quote.
Safety Checklist
Use this checklist before, during, and after the install.
Before you start
- Breaker is off and labeled
- Power confirmed dead with a non-contact tester and multimeter
- Ladder is rated for your weight plus tools
- Fan weight checked against the box rating
During installation
- Box is labeled “acceptable for fan support”
- Cable is stapled and protected at framing
- Ground wire connected to box and fan bracket
- Wire connectors are listed and tug-tested
- No splices hidden outside a box
After installation
- Blades sit at least 7 feet above the floor
- Fan runs without wobble on high speed
- AFCI breaker tested with its test button
- Inspection passed before closing walls
OSHA’s electrical safety guidance stresses lockout, testing before touching, and proper grounding. Those same habits protect homeowners on a ladder.
Print this list and keep it on the ladder tray during the job.
Troubleshooting Steps After Install
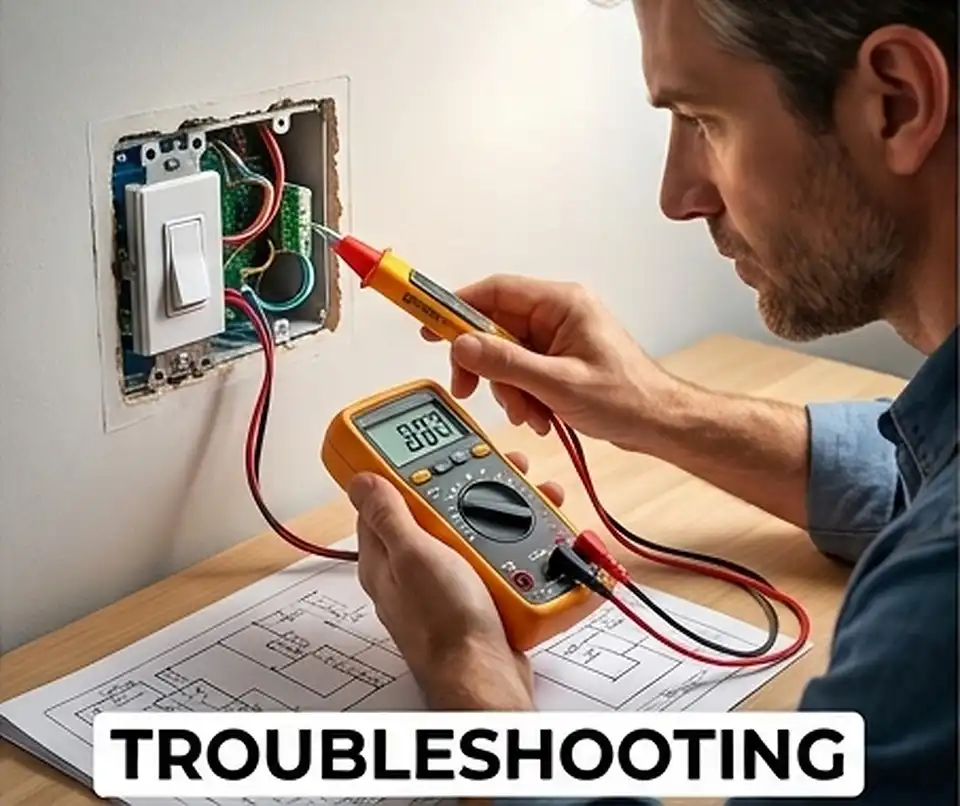
Most post-install problems trace back to connections or controls. Work through these in order.
- Fan won’t start. Check the breaker, then the switch, then the pull chain position.
- Light works, fan doesn’t. The black and blue wires may be swapped, or the pull chain is off.
- Fan hums. A dimmer is likely on the circuit. Replace it with a fan-rated speed control.
- Breaker trips on startup. Look for a pinched wire at the canopy or a nicked cable.
- AFCI trips randomly. A loose neutral or shared neutral is the usual cause.
- Fan wobbles. Tighten blade screws, then use the balancing kit. Check the box for movement.
- Remote stops working. Replace the battery, then re-pair the receiver per the manual.
If the box moves when you push on the fan, stop using it. That is a support failure, not a balance issue.
For fans that run slow or make noise, our ceiling fan installation team checks box support and control wiring together.
Common Mistakes We See on Service Calls
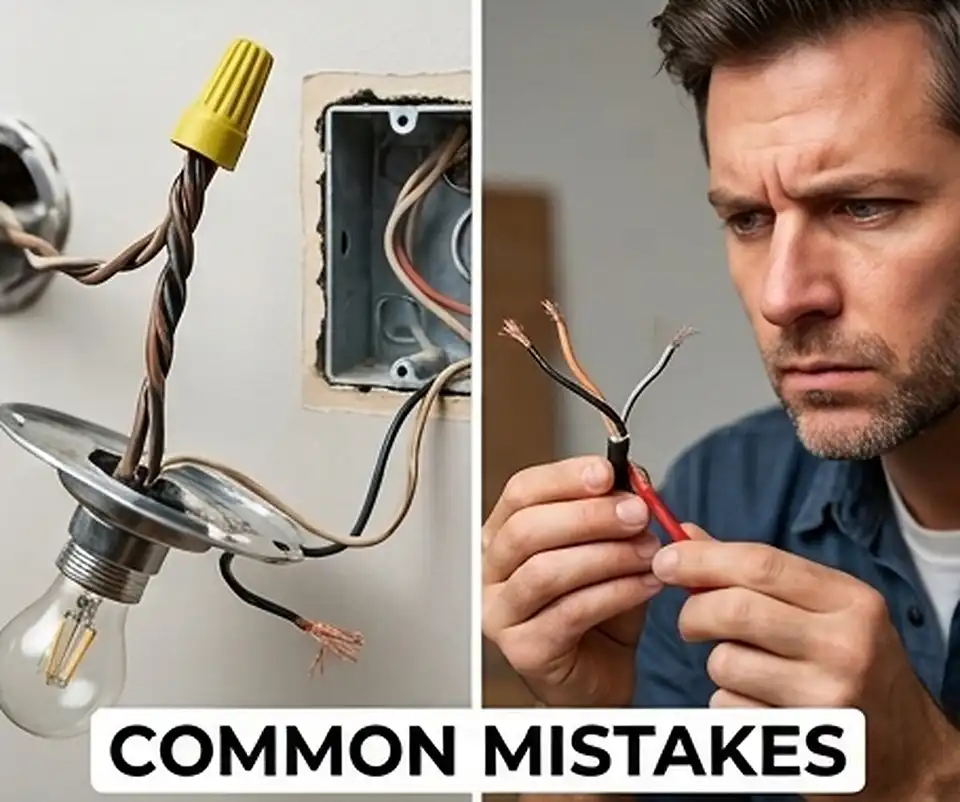
These errors show up again and again when homeowners research how to install a ceiling fan without existing wiring and skip a step.
- Hanging a fan from a light box. The box fails under vibration.
- Using drywall anchors. Anchors are not a support system for a moving load.
- Running 14 AWG wire on a 20A breaker. The wire overheats before the breaker trips.
- Burying splices in the ceiling. Every splice must stay in an accessible box.
- Extension cords stapled across ceilings. Cords are not permanent wiring.
- Tapping the air handler circuit. It is dedicated for a reason.
- Skipping the ground. The fan frame can become energized.
- Using a light dimmer as a fan control. The motor hums and overheats.
- Ignoring old insulation. Some older attics contain vermiculite. Test it before disturbing it.
In Pelham and Alabaster, newer subdivisions bring a different issue. Builders sometimes install a standard box at the “fan location” with no bracing. Pre-wired does not always mean fan-rated.
Check your existing ceiling box label before assuming it is ready for a fan.
Alabama Permit Considerations
Permits protect your home and your insurance claim. In Alabama, electrical contractors are licensed through the Alabama Electrical Contractors Board, and permits are issued locally. Most new circuit work needs one.
| Jurisdiction Type | Who Issues Permits | Common Requirement |
|---|---|---|
| City of Birmingham | City permits and inspections office | Permit for new circuits and wiring |
| Hoover, Vestavia Hills, Homewood, Mountain Brook | Each city’s building department | Permit plus inspection for new wiring |
| Trussville, Pelham, Alabaster | City building and inspections | Permit for new circuit runs |
| Unincorporated Jefferson County | Jefferson County | Permit for new wiring |
| Unincorporated Shelby County | Shelby County | Permit for new wiring |
| Work Type | Permit Usually Needed? |
|---|---|
| Swapping a fan on an existing fan-rated box | Usually no |
| Replacing a light box with a fan-rated box | Sometimes |
| Running new cable to a new ceiling location | Yes |
| Adding a new breaker or circuit | Yes |
| Installing a plug-in fan with swag kit | Rarely |
Some cities allow owner-occupant permits for single-family homes. Others require a licensed contractor for any new circuit. Rules differ by address, so confirm with your local office.
Part of learning how to install a ceiling fan without existing wiring is knowing when the job crosses into licensed work. As a government-certified, state-licensed electrical team, we pull the permit, schedule the inspection, and meet the inspector. Always ask any contractor for a license number and verify it with the Alabama Electrical Contractors Board.
Find your city on our page of communities we serve to see local electrical needs.
When to Call a Licensed Electrician
Some fan jobs are DIY-friendly. Others are not. This table shows where we draw the line.
| Task | DIY Reasonable? | Why |
|---|---|---|
| Assembling the fan | Yes | Follows the manual |
| Installing a plug-in fan on a rated support | Often | No new wiring |
| Swapping a fan on an existing rated box | Often | Same circuit, same box |
| Installing a brace bar box | Maybe | Must lock tight between joists |
| Fishing new cable | Usually no | Permit and code rules apply |
| Adding a breaker or AFCI | No | Panel work is licensed work |
| Working with plaster ceilings or two-wire circuits | No | Damage and grounding risks |
Our Birmingham crews handle the parts you can’t see: the attic run, the panel, and the inspection. Learn more about our attic electrical wiring work for hot, tight Alabama attics.
FAQs
Can I install a ceiling fan where there is no light fixture?
Yes. You need a new fan-rated box, a cable run from a nearby circuit, and a wall control. Most cities treat this as new wiring that needs a permit.
How do I install a ceiling fan without attic access?
Use an expandable brace bar through a 4-inch hole. Then fish cable from the nearest switch between joists, or use surface raceway.
Does a ceiling fan need its own circuit?
Not always. A fan draws under 1 amp. It can share a general lighting circuit with spare capacity. A dedicated 15A circuit makes sense on crowded panels.
Can I use a plug-in ceiling fan instead?
Yes. Plug-in fans with swag kits skip new wiring. They still need a fan-rated mount in the ceiling.
What size wire do I need?
Use 14 AWG on a 15A breaker or 12 AWG on a 20A breaker. Choose 14/3 if you want separate fan and light control.
Do I need a neutral wire for a smart fan switch?
Most smart fan controls need a neutral. Without one, use a canopy receiver with a battery wall remote, or run new 14/3 cable.
How much does it cost in Birmingham?
Expect roughly $350 to $1,200 depending on attic access and distance to power. Dedicated circuits and drywall repair add cost.
Is a permit required in Hoover or Vestavia Hills?
New circuit wiring usually requires a permit and inspection. Confirm with your city building department.
Can I hang a fan on a sloped ceiling?
Yes, with a sloped-ceiling adapter and a longer downrod. Check the fan’s maximum slope rating.
What fan size fits my room?
Rooms up to 75 sq. ft. suit 29 to 36-inch fans. Rooms of 144 to 225 sq. ft. suit 44 to 50-inch fans. Larger rooms need 52 inches or more.
Get Your New Fan Wired the Right Way
A fan in a room with no wiring is a real electrical project. It needs a fan-rated box, a safe power source, proper grounding, and often a permit. Now that you know how to install a ceiling fan without existing wiring, you can judge which parts fit your skills and which belong to a licensed pro.
At Bob’s Electrical Services, we connect Birmingham-area homeowners with licensed, government-certified electricians who handle attic runs, no-attic brace installs, smart controls, and inspections. We serve Birmingham, Hoover, Vestavia Hills, Mountain Brook, Homewood, Trussville, Pelham, Alabaster, and nearby towns. Clear pricing and plain-language answers come standard.
For residential electrical help in Birmingham, call (888) 217-2561 today. Have the room size, the fan model, and your attic access details ready when you call.